Fully leveraging machine uptime
By Staff Report November 16, 2024 2:04 pm IST
Mould and tool makers are under pressure to reduce their throughput times and unit costs to stay in business. How much of a competitive edge do companies enjoy with a zero-point clamping system and a measuring machine? The CEO of WESCHU GmbH ran the numbers.
Standing in front of a ZEISS CONTURA in the middle of his demo centre, Werner Schumacher declares: “My ZEISS measuring machines truly do make me money.“ The CEO of WESCHU GmbH und Co. KG, headquartered in Nuremberg, Germany, frequently takes potential customers through the large modern building featuring two automated manufacturing cells with multiple milling, erosion and measuring machines. “Here, customers can see for themselves how efficient they could be,” says the manager at Schumacher. This explains why he and his daughter invested three million euros to construct the demo centre.
The CEO has been in this business for 40 years. Whoever presets workpieces and electrodes on an expensive erosion machine rather than a measuring machine will be out of business sooner or later. Why? Schumacher explains that performing the presets on the expensive production machine can only achieve up to 1,500 erosion hours annually.
The challenge: profitability
Kathrin Schumacher, the other CEO and company owner, knows that company representatives who take the time to verify Schumacher‘s calculations and add up the amount of time their machines are used for eroding or milling will be “astonished.” Experience has shown that using a machine for production time for more than six hours a day is a rarity. Poor machine utilisation costs firms over 60 euros per hour, expenses which are then passed on to the customer. Instead of making a profit, the companies’ losses pile up. Based on Schumacher‘s assumptions, these can total thousands of euros – per year and machine. While Ms Schumacher does not have specific data detailing company closures, she estimates that, within the last 10 years, around half of the mould and tool manufacturers in the Nuremberg region have gone out of business due to this reason.
Increased efficiency for lower costs “But things don‘t have to end this way,“ emphasises Ms. Schumacher. For her, there is no question that even companies in high-wage countries like Germany can turn a profit by making moderate investments. Both father and daughter recommend that those mould and tool manufacturers with small lot sizes start optimising their processes by purchasing a zero-point clamping system for around 15,000 euros as basic equipment.
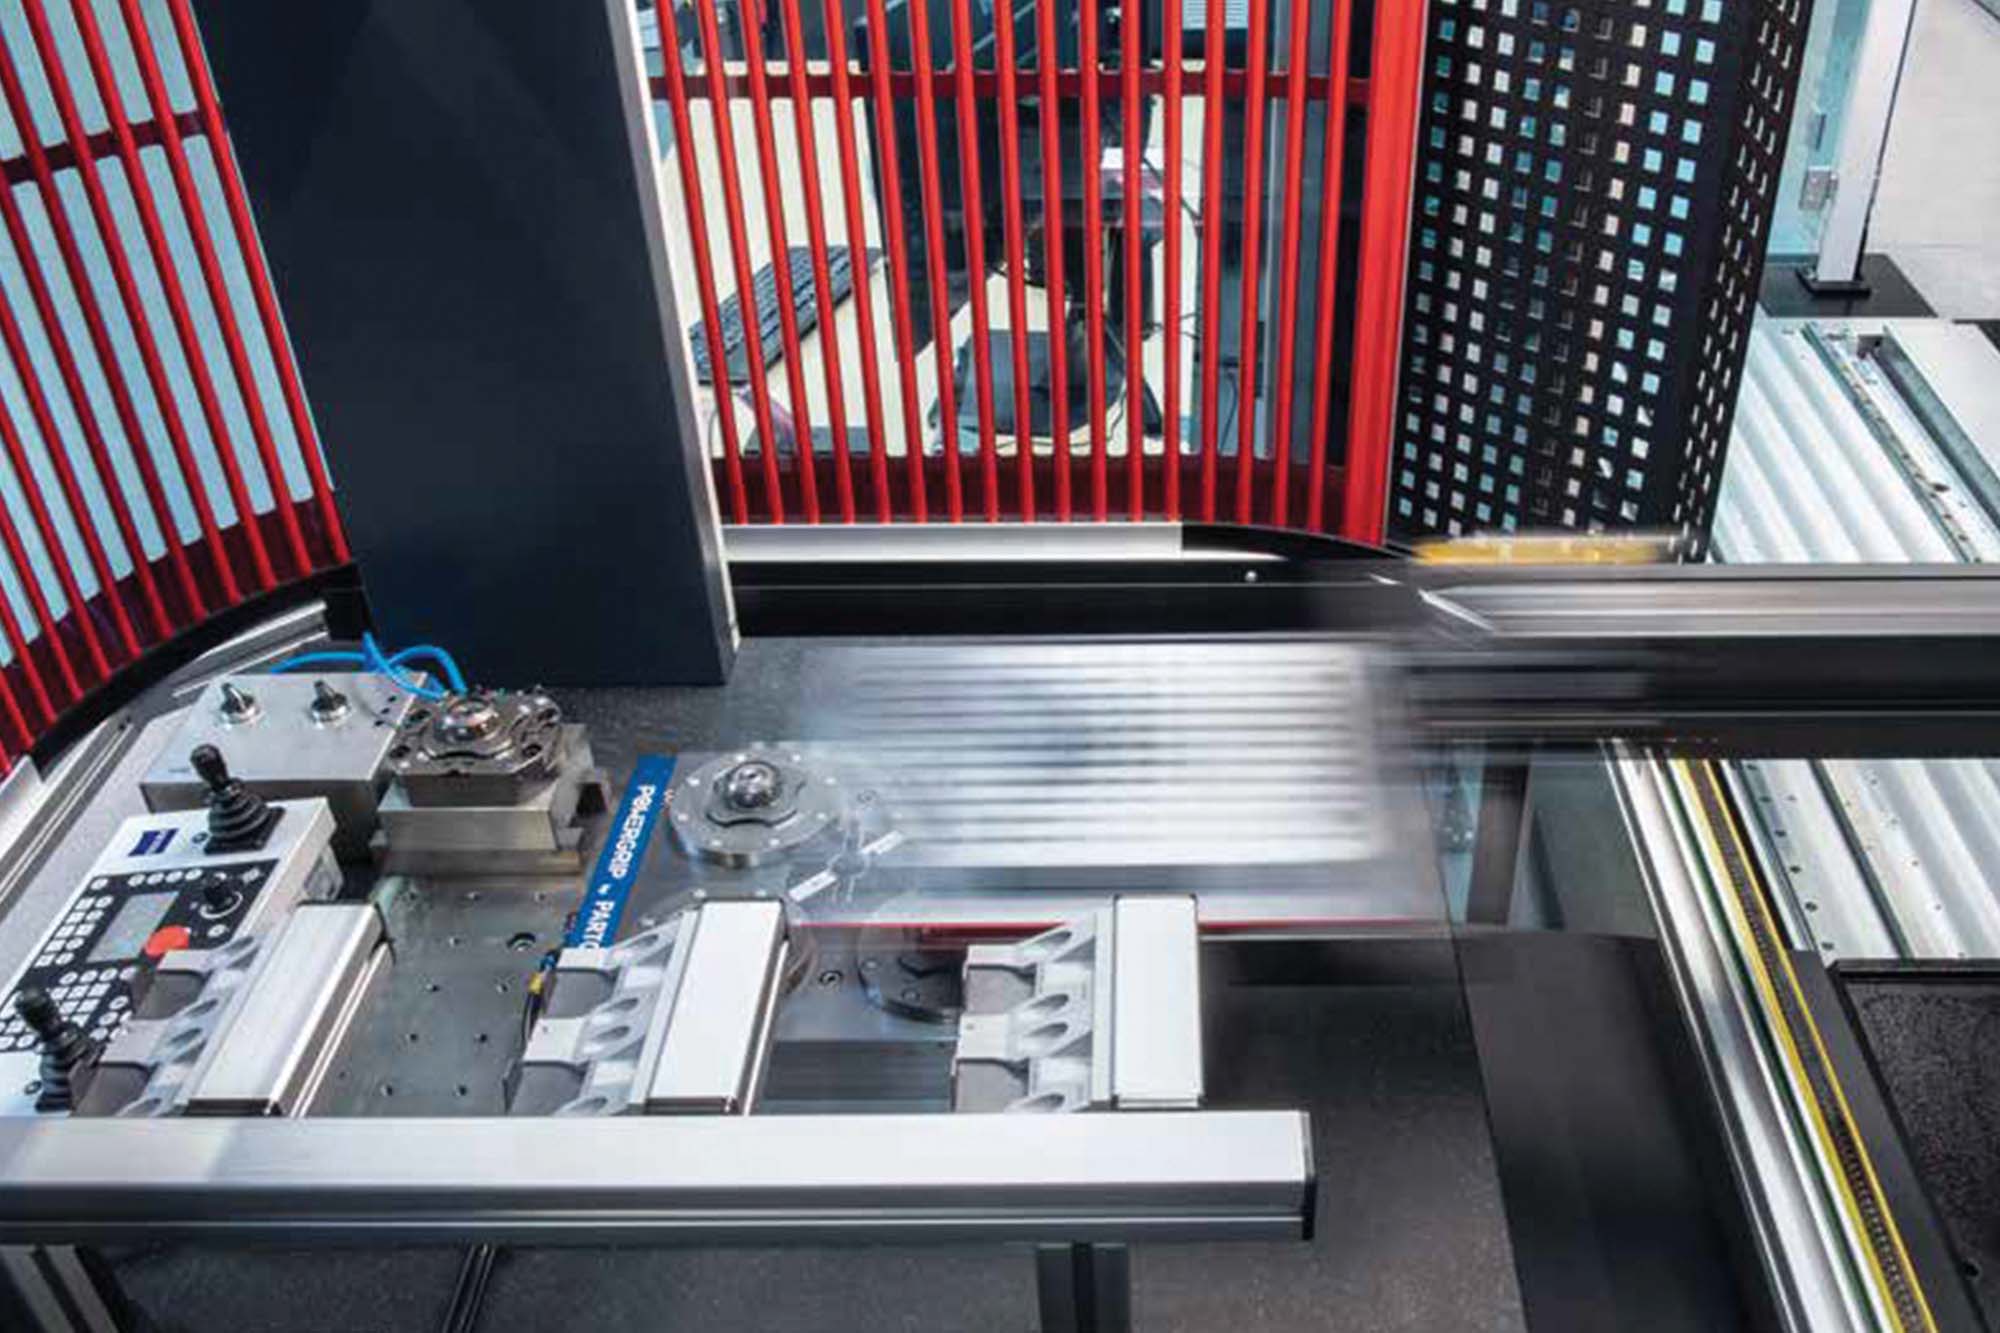
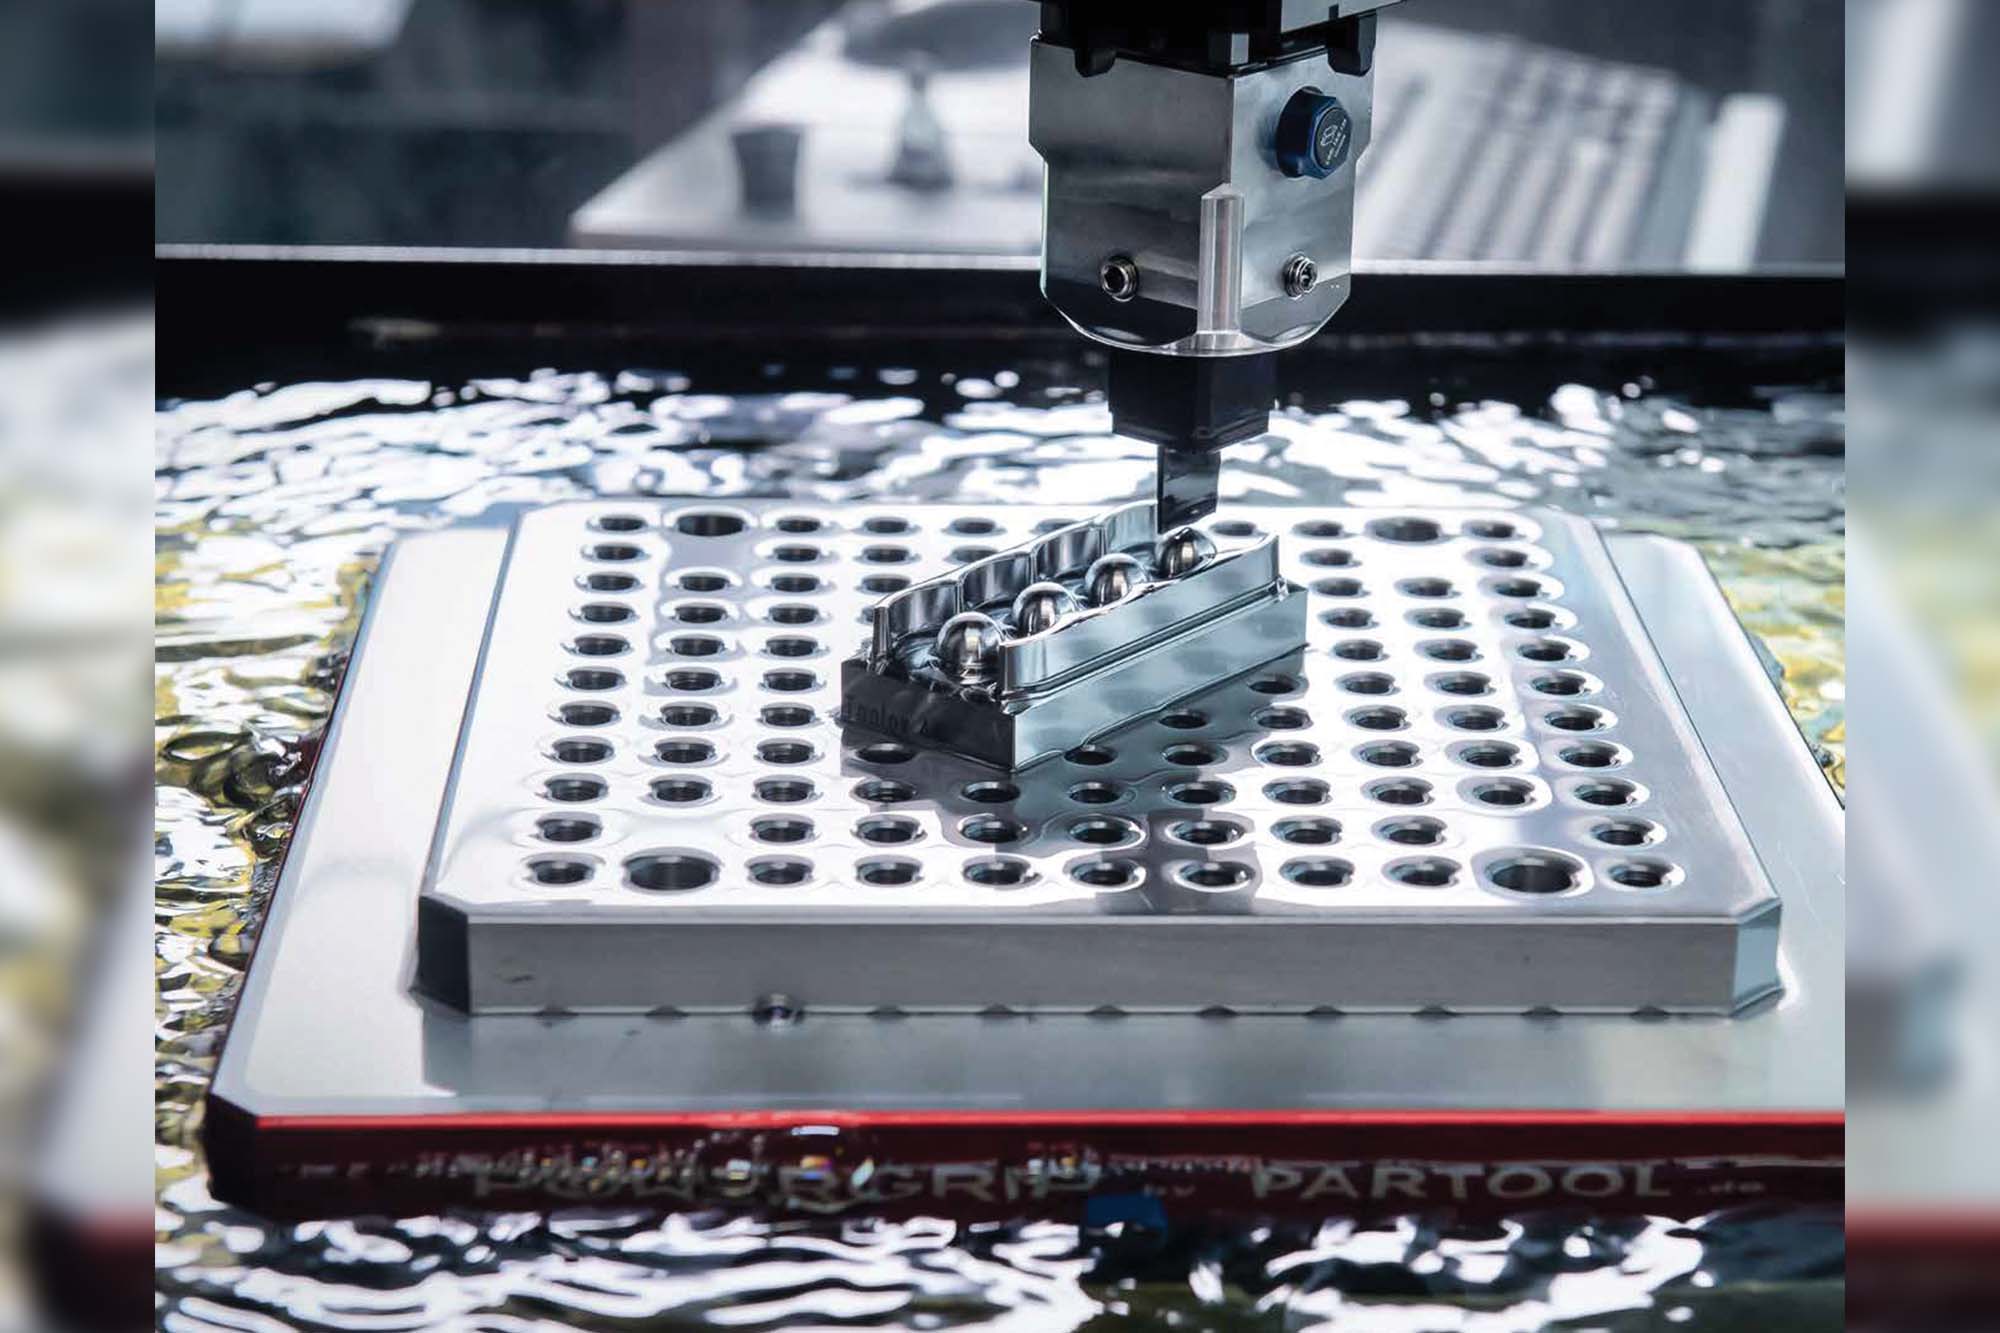
This enables employees to fixture workpieces and electrodes away from the tool machine, reducing the setup time even if the presets are performed on the manufacturing machine. According to Schumacher‘s calculations, the zero-point clamping system alone increases the overall amount of time the machine is in use. One reason is that employees can fixture workpieces that are difficult to machine or clamp multiple workpieces. By aligning these in the machine shortly before the end of their shift, the components can be processed overnight without monitoring. Even with the zero-point clamping system, the measurement on the machine still takes time – a strong argument for performing the position of workpieces is to do the measurement externally on a measuring system. The measuring machine transfers the offset data to the machine tool and the job manager. Then, the employee or the robot can move the pallet with the workpiece from the measuring system in the tool machine.
Werner Schumacher, co-CEO and Owner of WESCHU Vertriebs GmbH & Co. KG, estimates that 80 per cent of mould and tool makers still do not use a measuring system for presets and in-line quality inspection.
Recouping the investment
According to Schumacher, the measuring system pays for itself after six months. Investigations from ZEISS also indicate that adding a measuring machine almost doubles a machine tool’s production time while reducing the manufacturing costs and the costs per component by up to 40 percent. Also, fewer machine tools are required to produce the same number of parts.
Another persuasive argument: the measurement on a measuring system is more precise, and it makes quality information available. At WESCHU and its subsidiary for contract manufacturing, IMT – Innovative Metall Technologien GmbH, the workpieces are measured fully automated on a ZEISS measuring machine and controlled against its data after each production step. Only the good components are machined further. “This way, we avoid wasting time and energy on scrappage,” explains Ms. Schumacher.False assumptions
Even though the pros far outweigh the cons, Schumacher estimates that 80 per cent of mould and tool makers still do not have a measuring system for conducting presets and atline quality inspection. “A lot of them are simply afraid that a measuring machine will overly complicate their processes, as opposed to simplifying them,” says Ms. Schumacher. Customers assume that to use a measuring machine; they would have to invest in a measuring lab and hire a metrology engineer.
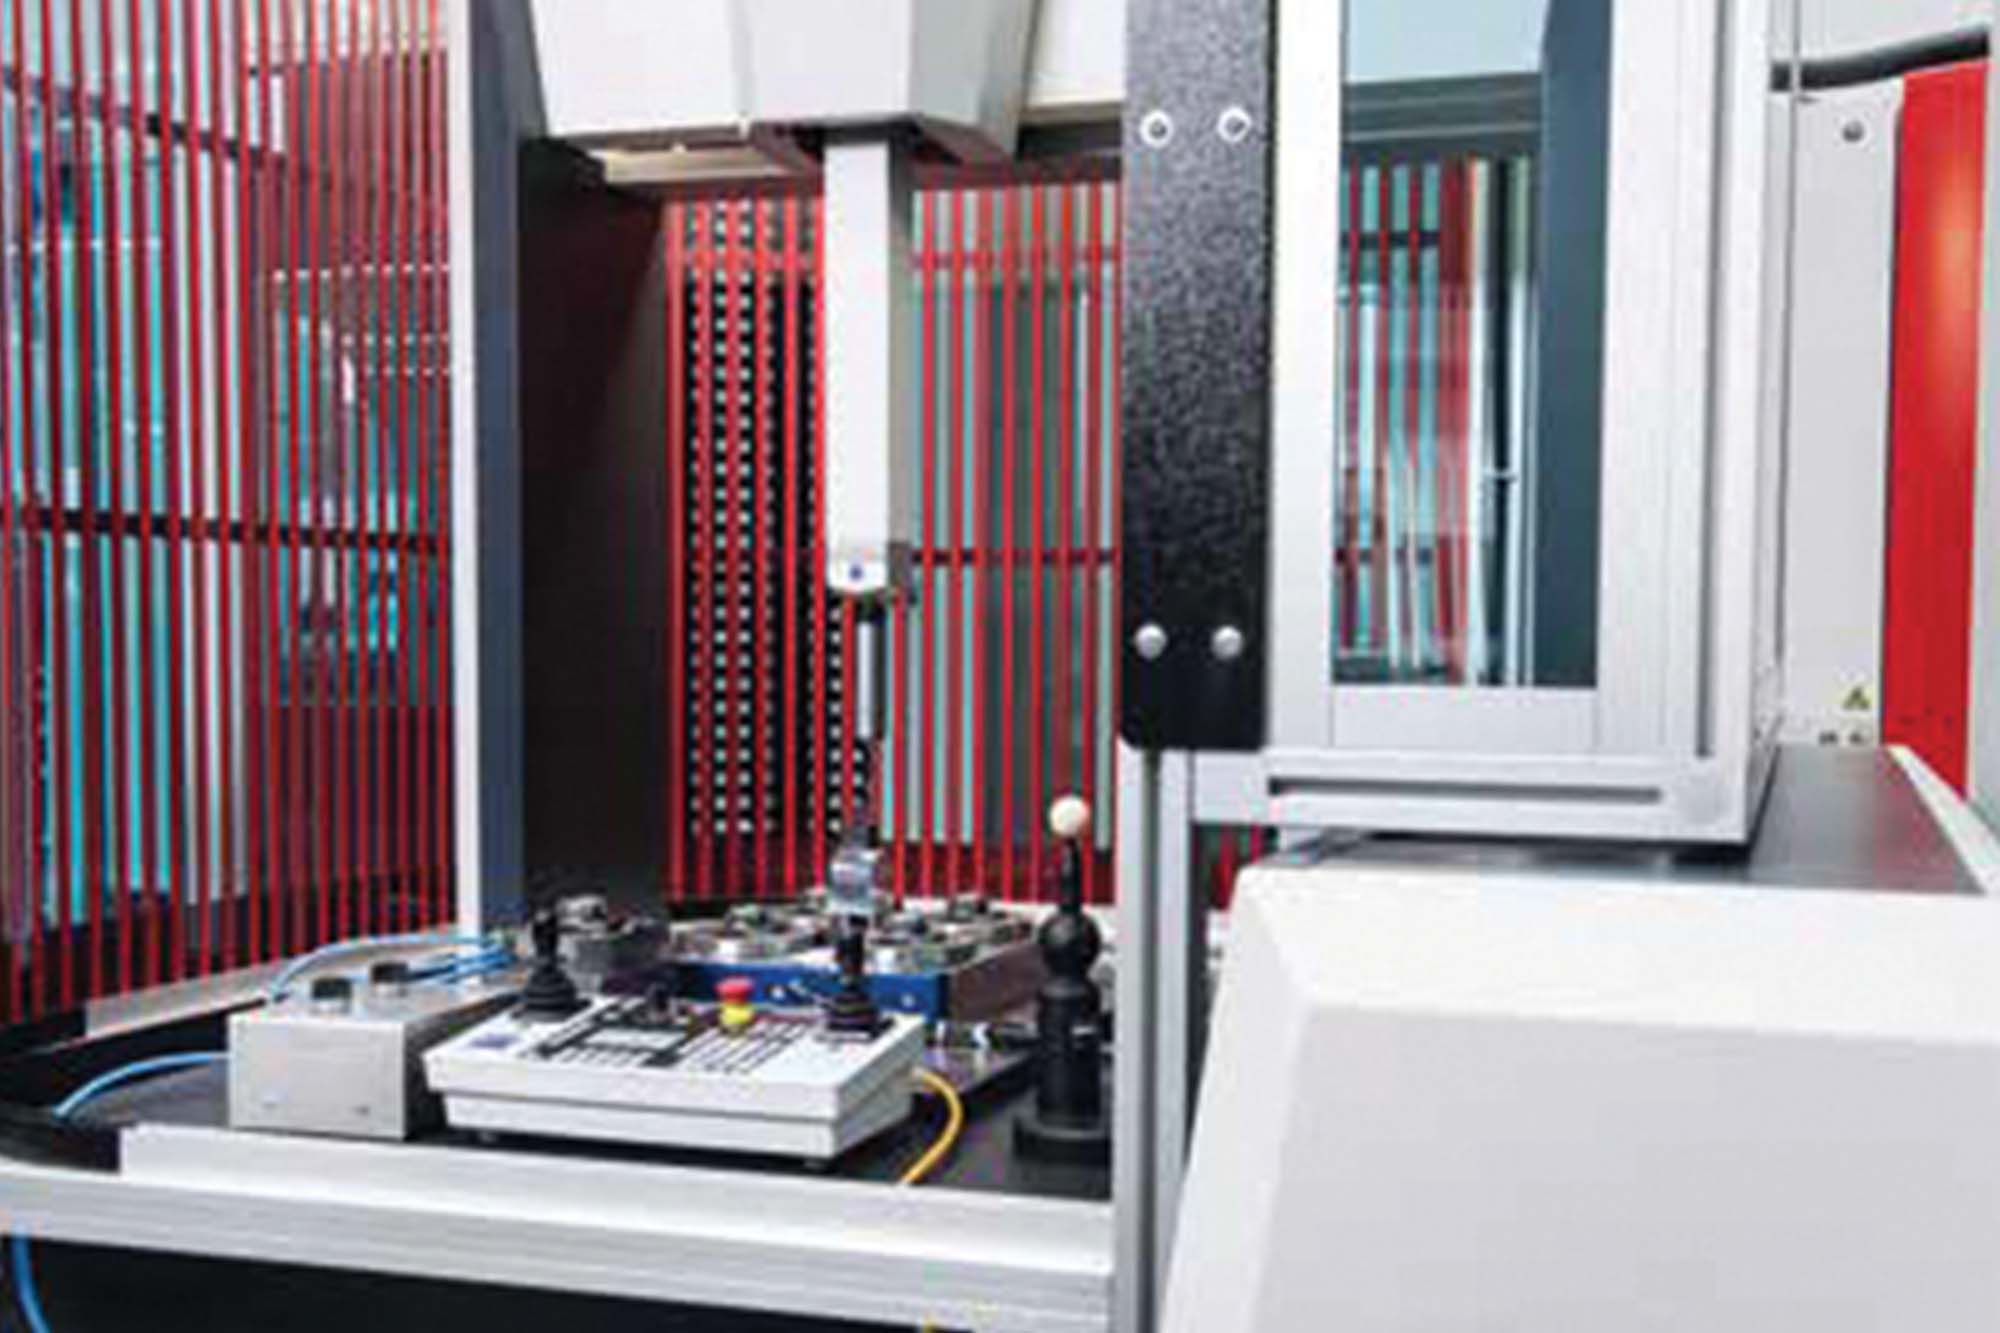
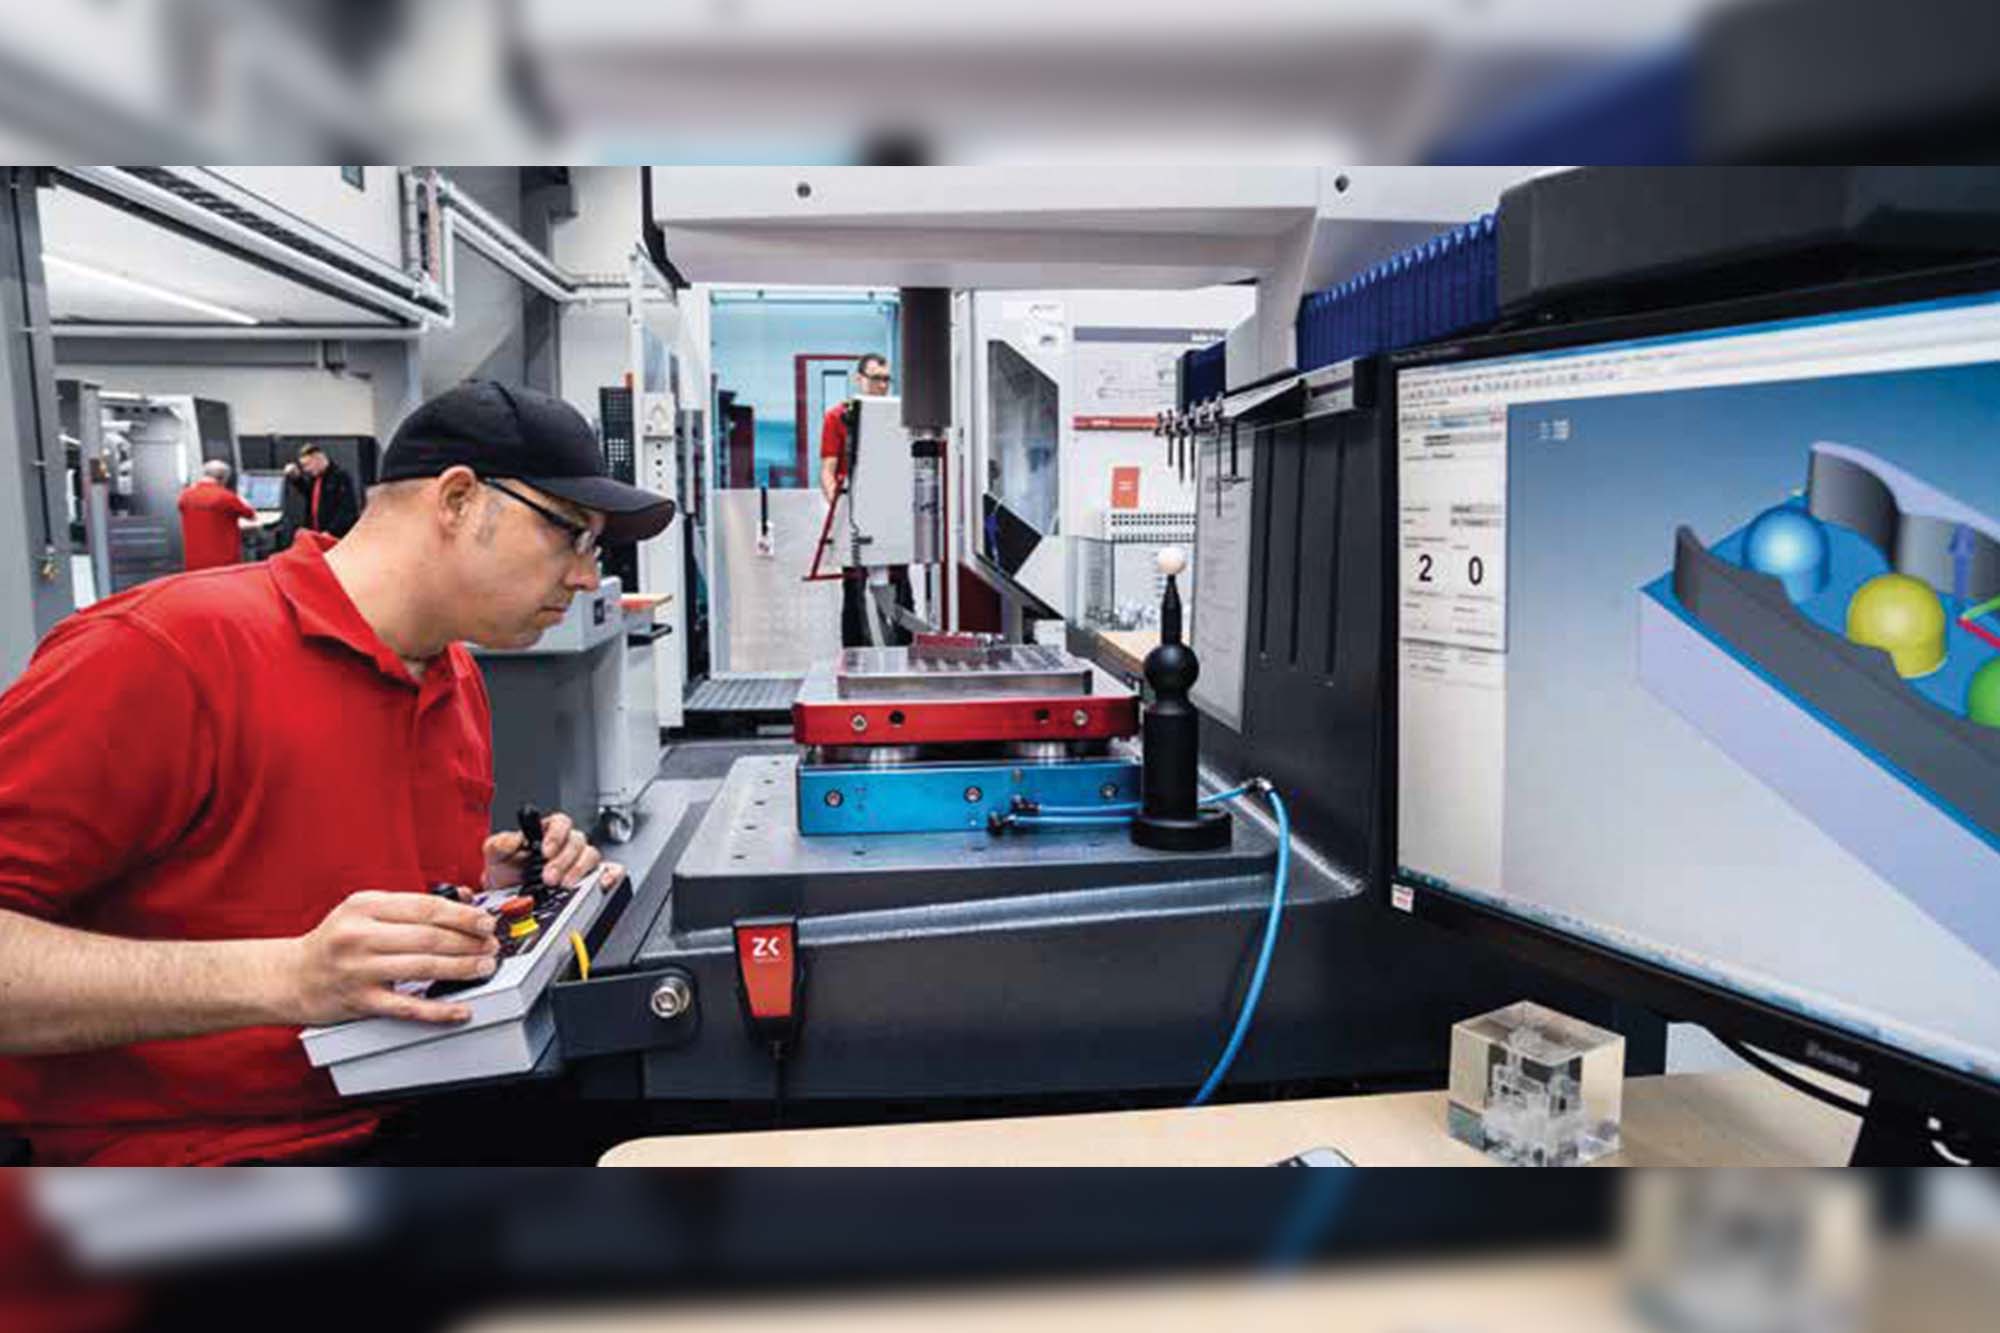
The two Schumachers quickly put an end to this misunderstanding. In the demo centre, they show potential customers that the ZEISS CONTURA and ZEISS DuraMax machines can perform highprecision measurements in the middle of production. In addition, all employees from their contract manufacturing company mill or erode form inserts, electrodes and machine components for individual WESCHU customers on the machines right in the demo centre. The staff also measures the offset of electrodes and workpieces with the user-friendly software ZEISS CALYPSO preset.
Designed with employees in mind, Ms Schumacher hopes that word gets around about how simple it is for mould and tool makers to utilise the ZEISS measuring machine and the accompanying software. During a customer demo, an employee shows how easy it is to use ZEISS CALYPSO preset.
After the operator has determined the zero point on the clamping system, he selects a macro for electrodes or workpieces and then conducts a probe. A file with the offset data is then available. It can be sent directly to the erosion machine or the job manager, who transfers all the data to the respective machine tool. “After the demo, the company reps quickly grasp that it doesn‘t take long until even metrology novices are using this technology,” says Ms. Schumacher.
Eyes set on automation
According to Schumacher‘s calculations, anyone who enhances their zero-point clamping system and measuring system with an automated solution, such as the Chameleon machine from the company Zimmer & Kreim or a fully automated production cell, easily increases the total running time of their machines to more than 4,000 hours and generates a profit exceeding 110,000 euros per machine. Companies can even achieve 6,000 production hours with automated measuring systems and machine loading, which can make parts throughout the clock. Schumacher agrees that a measuring machine lays the foundation for automation. Yet implementing automated solutions is difficult without employees‘ support. Due to their positive experiences with efficiency-boosting technologies, they understand that faster, streamlined processes secure rather than jeopardise their jobs.
Brief Profile Weschu and IMT
In 1978, Werner Schumacher founded the commercial enterprise WESCHU Vertriebs GmbH & Co., KG, headquartered in Nuremberg. Schumacher built a demo centre to help customers understand the technology and superior performance of erosion, milling and measuring machines and automated solutions. Yet he felt the demo machines would be more impressive if they were in use, which is why Schumacher founded IMT – Innovative Metall Technologien GmbH more than 30 years ago. WESCHU has also been selling ZEISS measuring machines since 1980. Kathrin Schumacher, daughter of the company‘s founder, became a joint owner and co-CEO of WESCHU and IMT in 2008.
Cookie Consent
We use cookies to personalize your experience. By continuing to visit this website you agree to our Terms & Conditions, Privacy Policy and Cookie Policy.


