Steel must last
By OEM Update Editorial June 17, 2024 6:45 pm IST
Climate requirements, globalisation and geopolitical conflicts pose challenges for companies producing and processing steel. This makes quality assurance all the more important to ensure that the precious raw material is used as efficiently as possible and rejects are avoided. SPC Werkstofflabor supports steel producers and processors as a service partner – and relies on a combination of light and scanning electron microscopy from ZEISS.
“The steel industry is in a difficult situation: Whether in the automotive, engineering, construction, or electronics industries – the demands on components made of steel are becoming ever higher. At the same time, supply is falling, and prices for crude steel are rising. Companies need quality assurance due to the increasing need for efficiency in their processes. And that’s exactly our business as a service partner for materials testing and failure analysis,” reports Alexander Maier, Managing Director, SPC. At the same time, for him and his team, the joy is limited. Firstly, the current geopolitical conflicts are distressing; secondly, they make planning orders more difficult. “This makes the long-standing partnership with ZEISS all the more important for SPC. Optimally matched hardware and software solutions, cloud services for sharing results, and powerful automation functions mean that we reliably deliver reproducible results and do so as efficiently as possible – which is exactly what is needed in the current situation,” says Alexander Maier.
Quality of crude steel and recycled content down
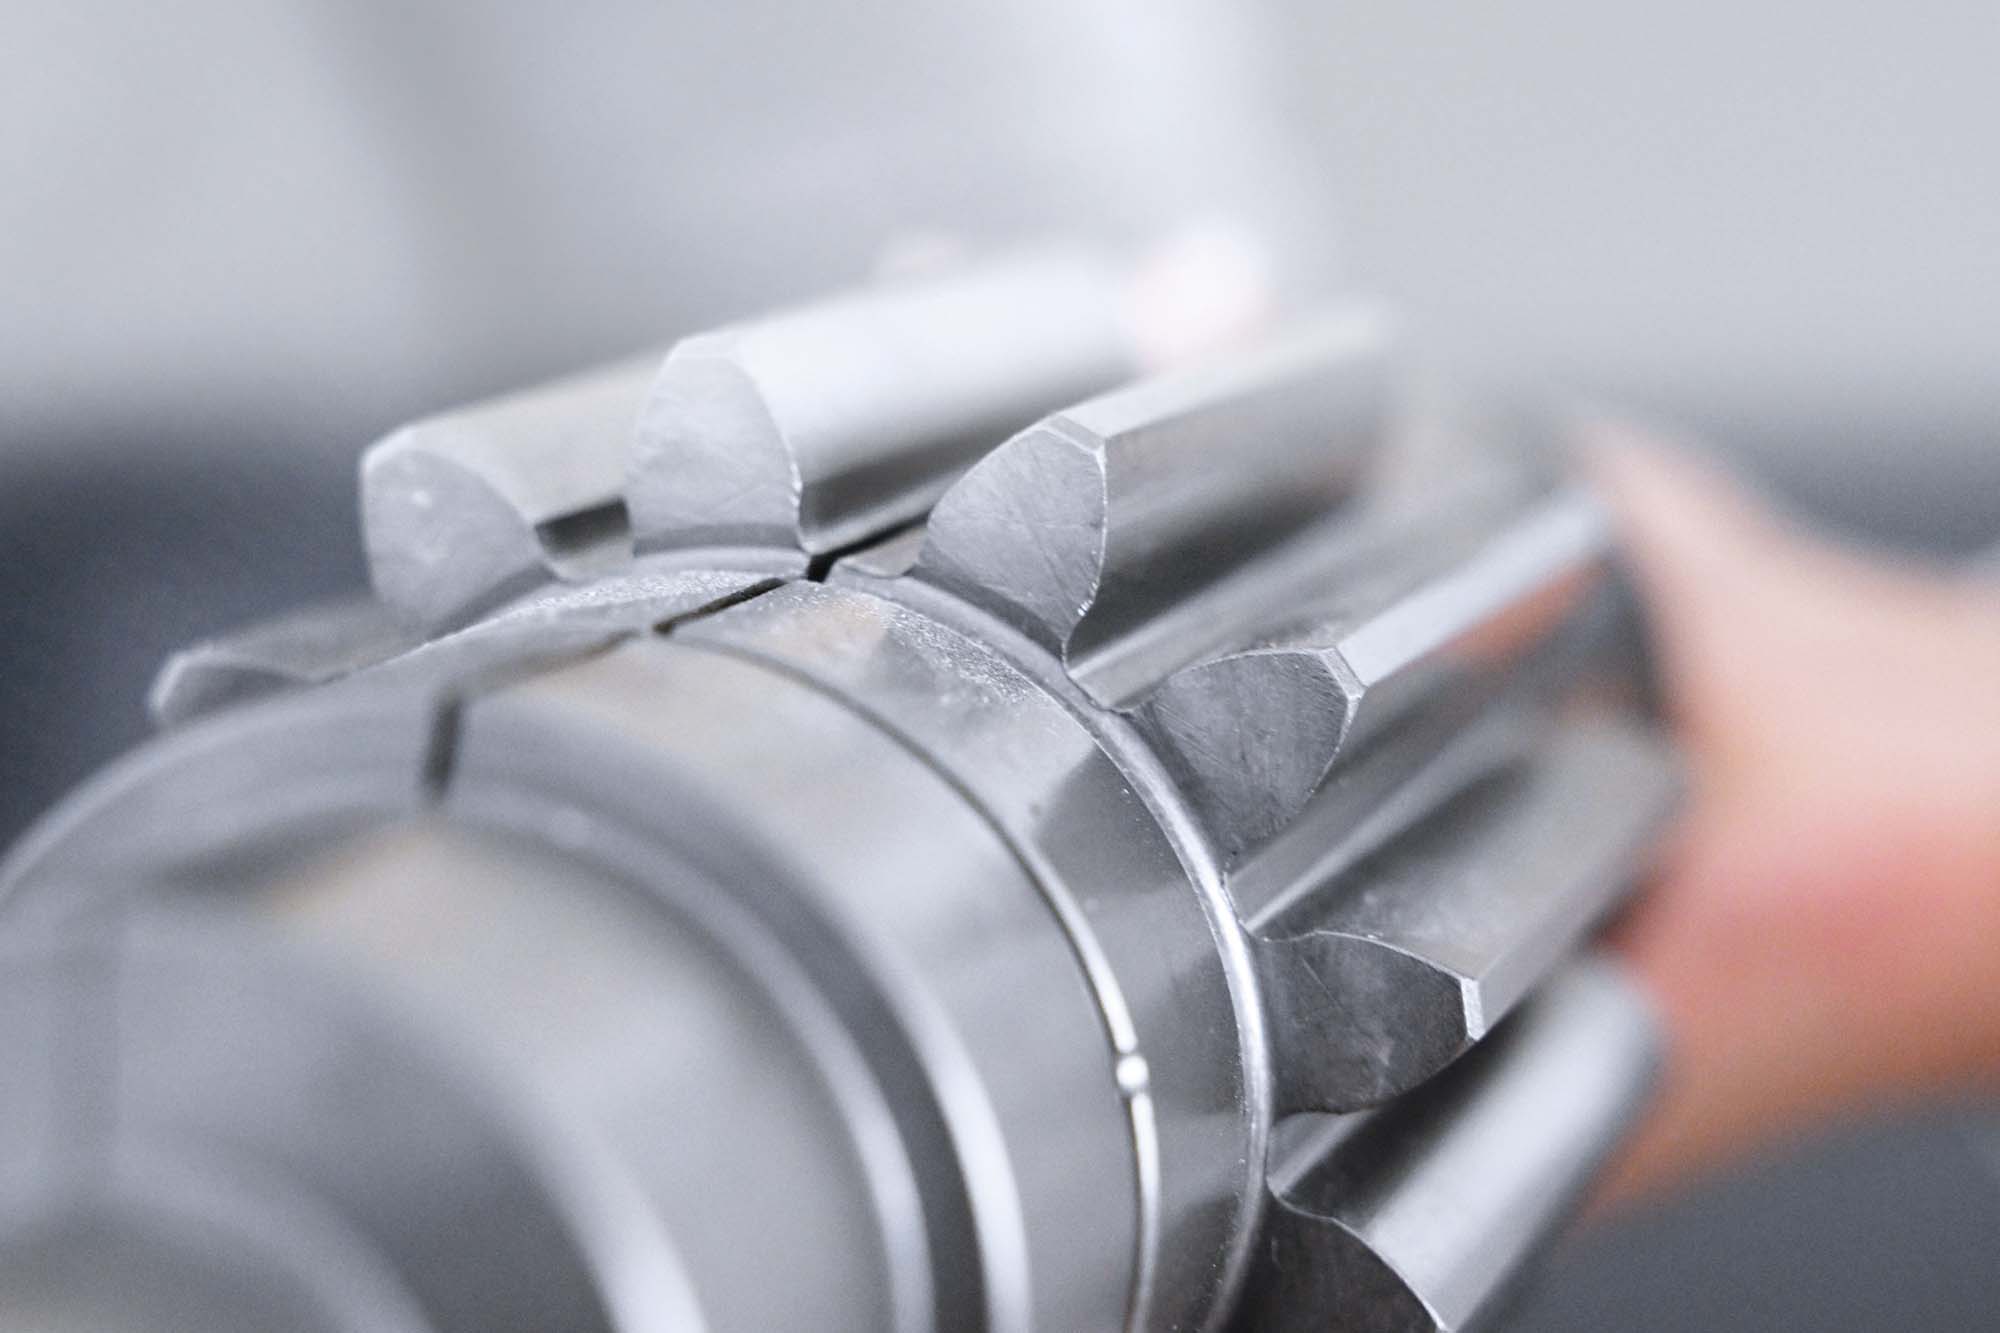
Thomas Schaupp, Laboratory manager at SPC, knows the pain of the steel industry all too well: “A very high percentage of crude steel came from Russia until two years ago, and it was very high quality. Because of the economic sanctions, Germany now gets its steel from other markets that don’t always deliver comparable quality.” The industry is also increasingly mixing a certain amount of scrap into crude steel – for economic reasons and to meet the growing demand for greater sustainability with more circularity. “But scrap quality is also declining,” says Thomas Schaupp. “And this overall situation – lower quality crude steel and poorer scrap – is causing steel processing companies to experience material quality issues they haven’t seen in many years.” This often has severe consequences for the resulting components, as in the case of a pinion shaft submitted for testing by one of SPC’s customers, a steel processor.
Thomas Schaupp explains: “The manufacturer of the pinion shaft complained to the steel trader after a complete batch of pinion shafts cracked lengthwise in the manufacturing process. The steel trader commissioned us to investigate the cause.” SPC complied with this request and determined the cause just a few days later.
Inspection process with a combination of light and scanning electron microscopy
“At first glance, the fracture looked to us as if it had been caused by damage to the surface of the raw part during the hardening process. In other words, a crack from the outside,” reports Thomas Schaupp.” But the high-resolution analysis of a broken piece taken from a destroyed pinion shaft with the ZEISS Smartzoom 5 digital microscope suggests a different conclusion: “Even with the naked eye, we could see from the sample taken that the steel on the centre axle is heavily darkened on the inside, which decreases towards the outside,” says Thomas Schaupp.
“And the microscopic analysis shows: around the central axis, a so-called ‘scaling’, i.e. oxidation of the steel, is visible. So the fracture originated from the inside.”
To analyse the structure inside more precisely, SPC staff created another sample, a metallographic section embedded in black epoxy resin, polished smooth and treated on the surface with an acid. “The etching process causes a chemical reaction of the material.This allows us to see under the microscope whether and where there is contamination in the material,” explains Thomas Schaupp.
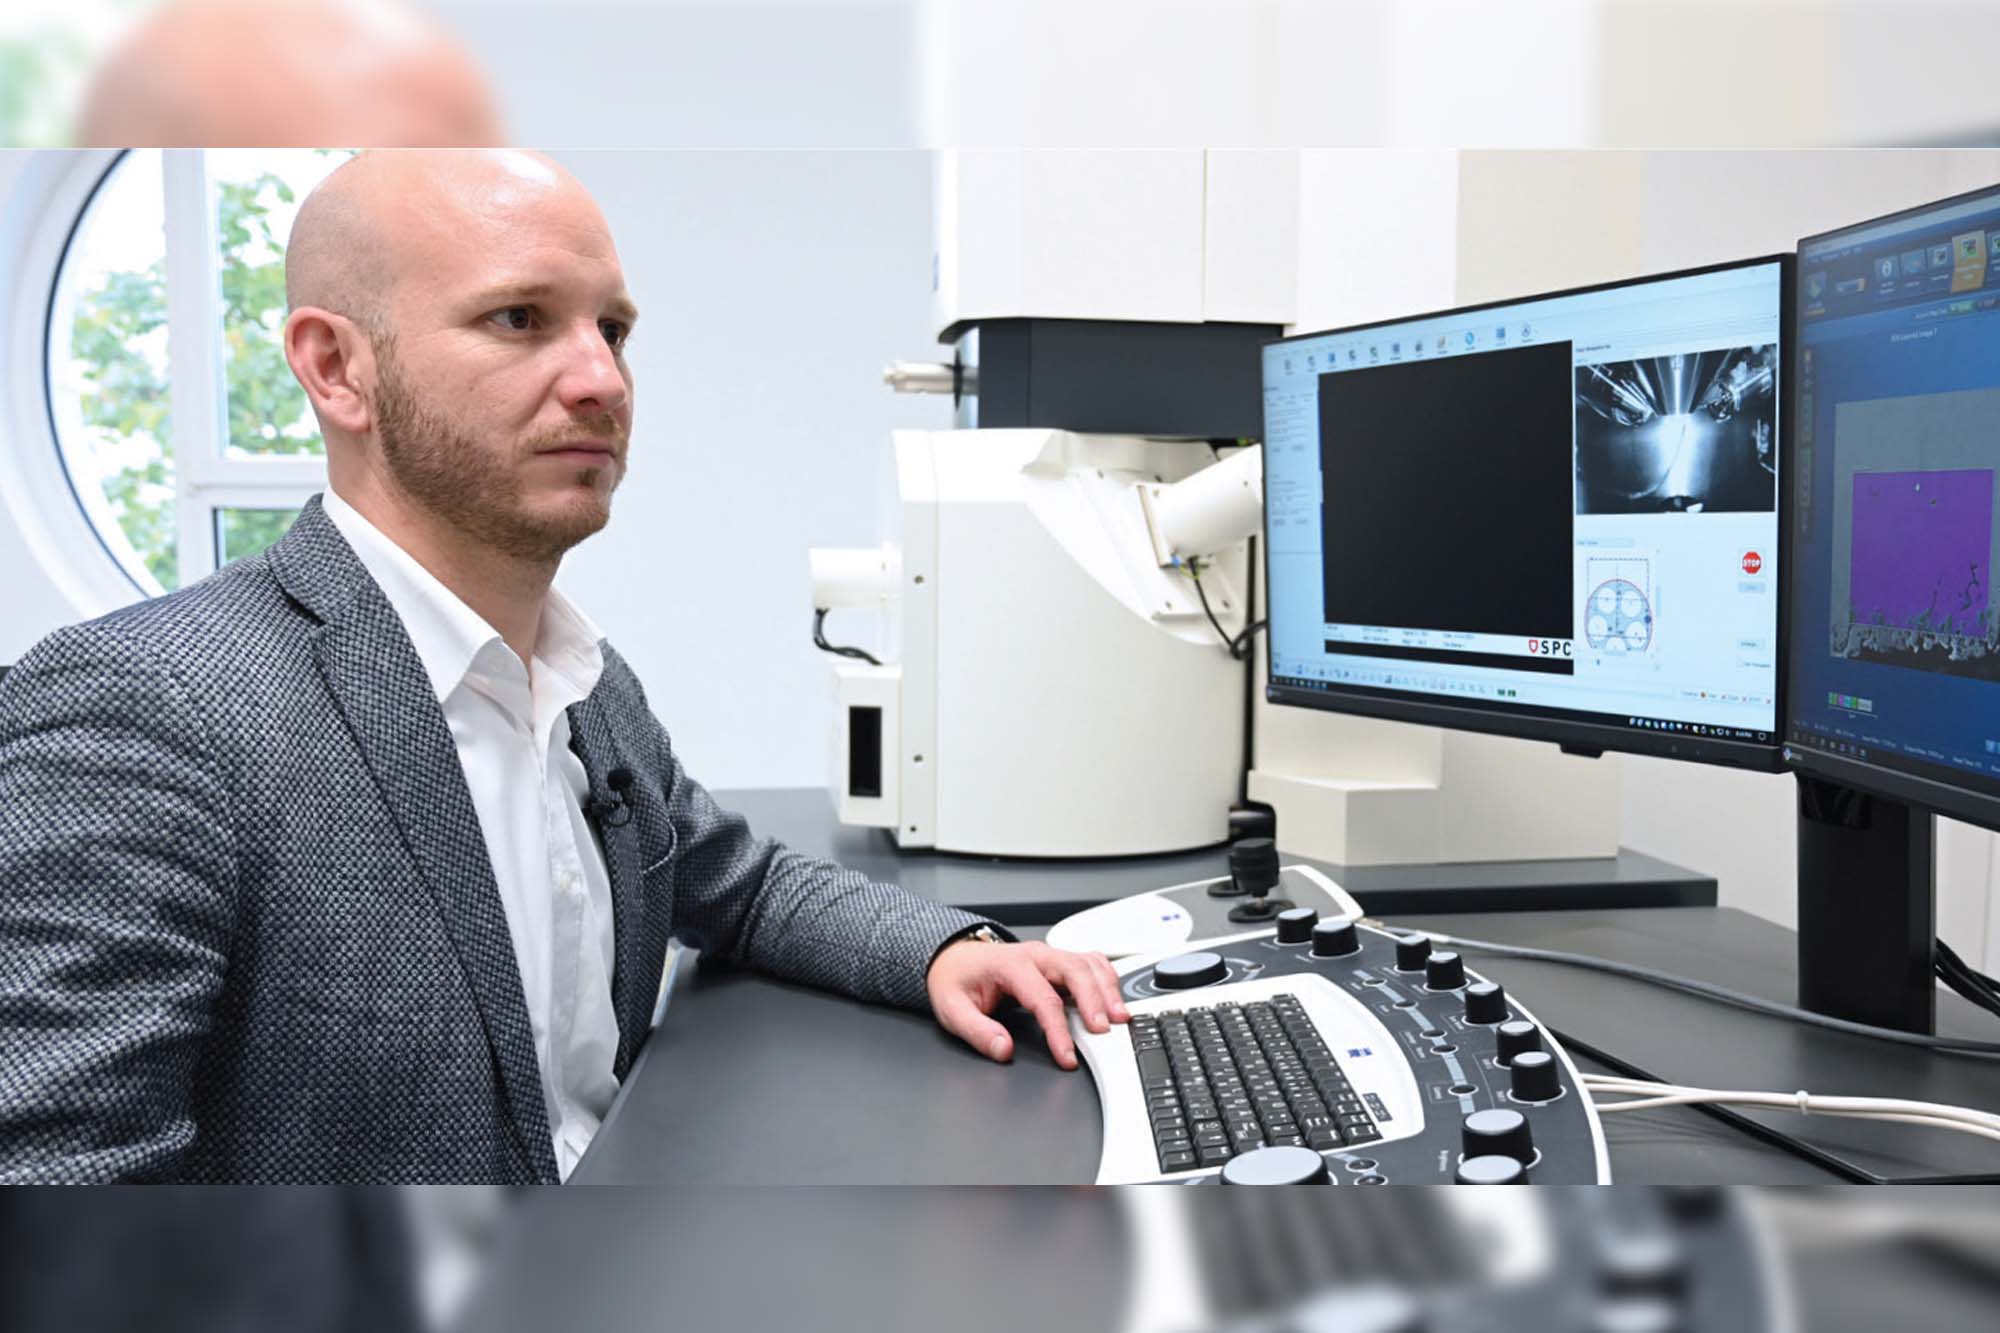
The SPC staff examined the sample with the ZEISS Axio Imager, a high-resolution wide-field microscope for automated materials research. Thomas Schaupp reports: “The analysis confirmed that ‘segregation’ had taken place near the central axis, i.e. contamination; in addition, we saw non-metallic inclusions. This caused the steel to become brittle.”
The final step was to identify the material of the contamination. To do this, the staff examined a metallographic section from the pinion shaft using the ZEISS EVO scanning electron microscope, whose additional energy dispersive spectroscopy (EDX) capability allows them to perform a chemical material analysis in which an electron beam excites the atoms in the sample and the resulting X-rays are measured. The analysis shows that in the steel of the pinion shaft, there were non-metallic inclusions with high concentrations of manganese and sulfur near the central axle and segregations of sulfur and phosphorus. Thomas Schaupp explains: “Normally, these impurities would still be tolerable, but a hole was drilled at this point, which put particular strain on the material, and fracture occurred. The steel supplied by our customer was contaminated, but this was within the norm. The company that made the pinion shaft from it should have required tighter tolerances for this application.”
ZEISS as a partner: 30 % faster to reliable results
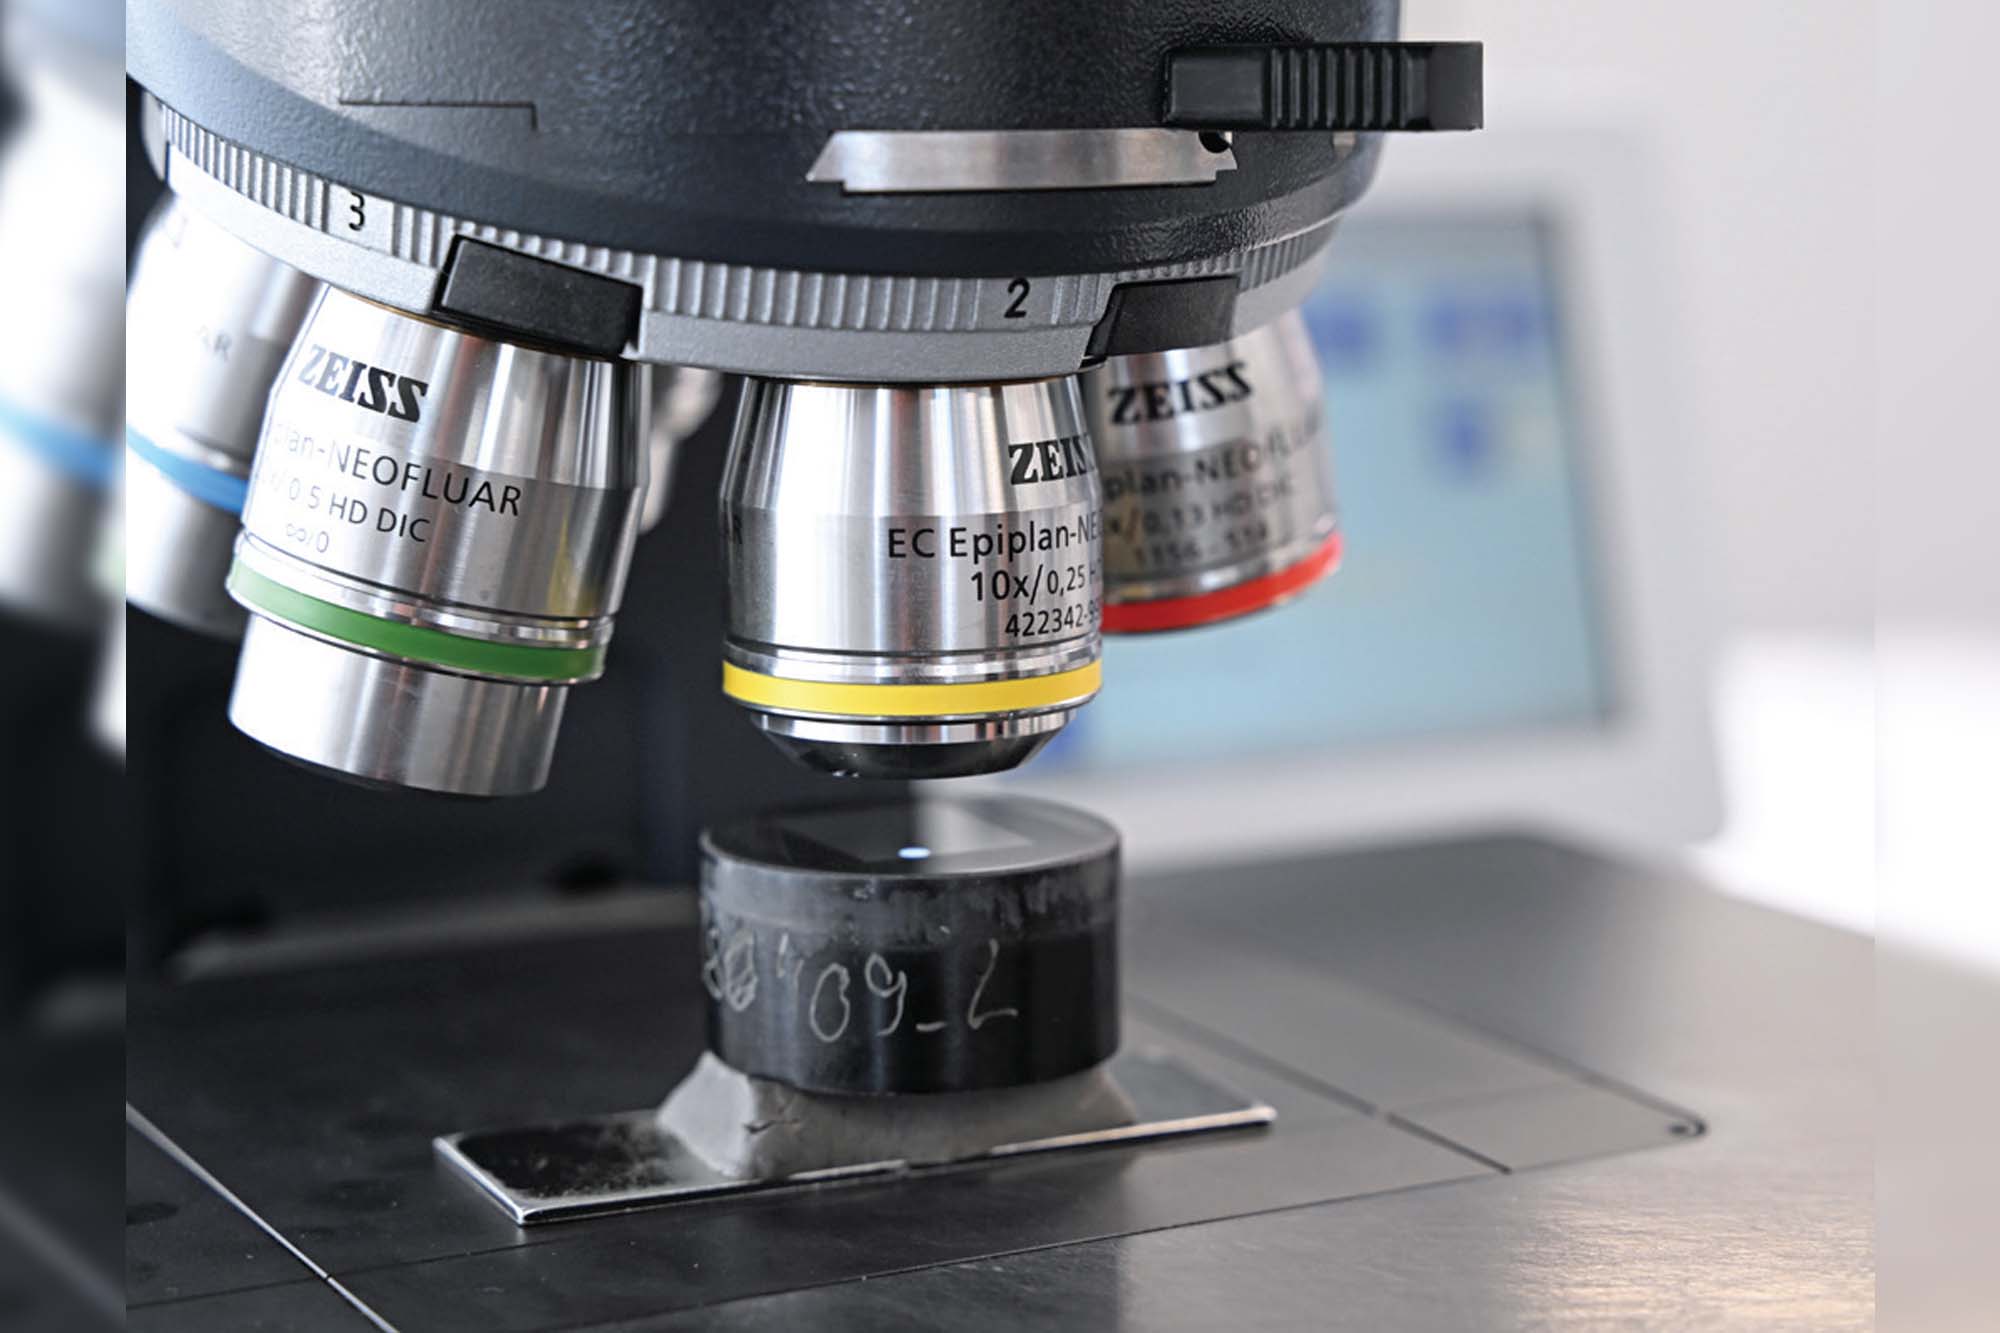
The ZEISS’s correlative workflow between light and scanning electron microscopy allowed the SPC materials laboratory to determine the result within a few days.
“Defects in materials such as steel lead to high costs for our customers. Finding and eliminating the causes must be possible; otherwise, deliveries will be delayed, which can quickly become expensive. Two things make ZEISS unique: The first is the optimally matched hardware and software, something you don’t find with any other manufacturer. Everything works intuitively and efficiently due to the automation functions. With other solutions, we would have to spend 30 per cent more time. This is important for SPC, especially in times of a shortage of skilled workers and high workloads. The influence of the individual user is low; we always get reproducible results with little user input, which makes our work much easier, especially in these times,” reports Thomas.
The second advantage of ZEISS over other providers is the cloud-based database ZEISS ZEN Data Storage, which allows the results of material analyses to be shared transparently and conveniently with customers.
Cookie Consent
We use cookies to personalize your experience. By continuing to visit this website you agree to our Terms & Conditions, Privacy Policy and Cookie Policy.


