Correlation free measurements technology to monitor robots
By OEM Update Editorial May 2, 2022 7:15 pm IST
Optimal measuring and inspection of sheet metal before and after bending are very essential for precision bending. We have a number of options at our disposal. Although the largest application is in the car body industry, the technology can be applied to other industries such as aerospace or white goods manufacturing.
After the part goes through several operations here and a sensor mounted on the conveyor or a robot basically looks for all the positions, such as whether the slot is in the correct position or the nut is welded correctly. It is determined whether the holes are punched if any a operation missing, and then everything is checked before it is tagged for final assembly or painting. So, 100 percent inspection is possible for better process control. There are various types of sensors available for such a kind of application at DCI. There are laser sensors, optical sensors, grayscale sensors, fixed sensors, and sensors that check the gap between transparent parts and sheetmetal parts like a headlamp or a tail light. There are also very special sensors that measure the gap between transparent parts and sheetmetal parts. There are many options available for such applications.
Inline Inspection
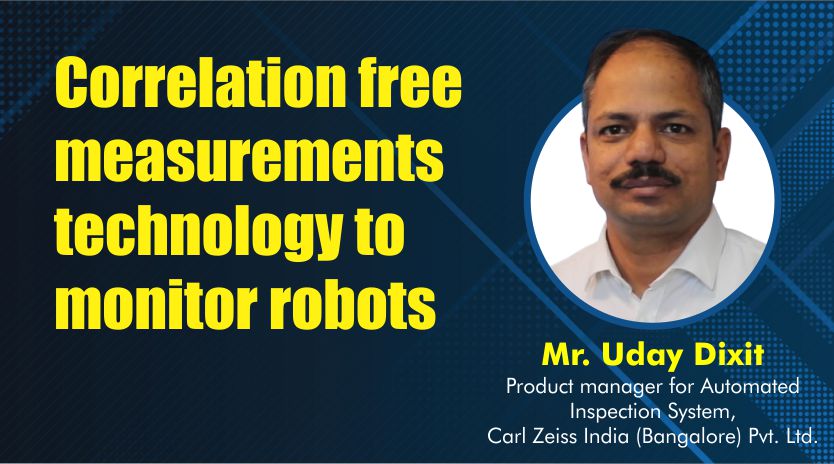
System Usually when you employ an inline inspection system, the whole system has to be correlated with some high precision measuring instrument, so that the measurement results are very reliable. This is a time-consuming process. Now, there is a new technology called correlation free measurements. Here, there are cameras mounted on a frame that monitor the robot movement, and you get high precision measurements right from the beginning. No more correlation with any other machine is required.
Secondly, in case if you don’t need 100 percent inspection, you can build a small inspection station right next to manufacturing line or assembly line, we can either load and unload parts manually or with an automated convey loading system. Since this is a robot-based system, it is completely flexible and can accommodate any changes quickly. We depend less on manual picture inspections.
Offline InspectionSystem Typically, offline inspection systems include coordinate measuring machines, which are commonly known as horizontal arm measuring machines (HAM in short). Although this is a very time-consuming process to measure a large sheet metal part very precisely, we have a very special sensor for this application. It allows us to scan parts, including shades and corners, up to almost 85 percent faster than conventional touch trigger probing technology.
Surface Inspection
System Moving on to surface inspection systems, a car body is normally checked manually for all kinds of surface defects before it is painted. It’s very challenging to detect these defects since they are normally not visible, but after coating, some defects are visible, and after painting, even more defects are evident. Traditional methods of manual inspection involves typically using grinding stone or applying oil film. Only Skilled operators can detect the defects by grinding with tools. Others can feel them with cotton gloves.
There are many different types of defects including bumps, dents sink marks, waviness, and draw lines. There are very special sensors that are mounted on a robot, in our case, an ABIS system, which can check the whole surface in seconds to identify all the defects. For this we keep the body roughly aligned with the laser pointers and then just run the program. Uday concludes, all the defects are superimposed on a CAD model with a required degree of damage and we have complete digital output, so we don’t have to rely on the judgement of operators.
Cookie Consent
We use cookies to personalize your experience. By continuing to visit this website you agree to our Terms & Conditions, Privacy Policy and Cookie Policy.


