Maximizing versatility and speed
By OEM Update Editorial January 19, 2022 12:23 pm IST
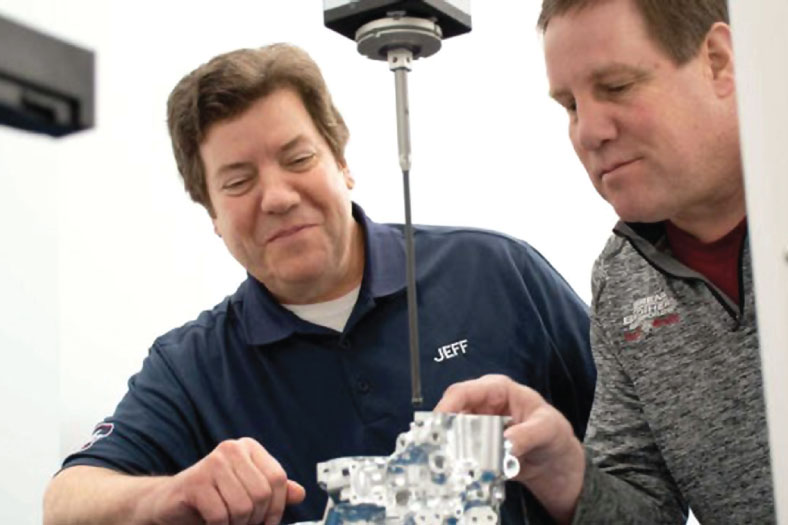
When Brenk Brothers Inc. was looking to increase the speed of its measurements and quality assurance to keep up with customer demand, the ZEISS CONTURA CMMs and ZEISS O-INSPECT 8/6/3 multi sensor CMM were their first choices.
“ The machines from ZEISS are s o p h i s ti c a te d ; they’re the most accurate machines in the world,” says CEO Jeff Brenk. Brenk Brothers Inc. is a US precision machining company near Minneapolis that specializes in highcomplexity machining applications. Its core capabilities are in CNC milling, including fourth- and fifth-axis machining, Swiss turning and wire EDM. With 150 employees, including 15 who work exclusively with ZEISS CMMS, Brenk Brothers serves customers from the aerospace, defense, computing, medical technology and pump industries.
The company has been AS91000- certified since 2011, meaning its quality management systems fulfill the strict criteria to produce safety-critical parts for the aerospace industry. Brenk Brothers produces, assembles and manages flight-critical components for 20 major aircraft programs. Its main product for the industry is hydraulic actuation manifolds. These are the mechanical nerve centers that move such things as the flaps, elevator, rudder and flight-critical steering on an aircraft.
A tradition of quality
The current owners are part of long family tradition dedicated to quality. After serving behind the front lines in Europe during World War II, Victor Brenk, father of the cu rrent owners, returned home and started his c areer at a local tool and engineering company near Minneapolis. Several years later, he co-founded a precision machine shop that made parts for the Apollo 11 moon landing. It was here where his sons got their first hands-on experience in machining. After Victor retired, three brothers formed Brenk Brothers. Today, it is run by Jeff and Mike Brenk. Jeff’s son Mike, today a Sales Engineer/Program Manager with Brenk Brothers Inc., was exposed early to the family business.
Demand for more data
As the number of flights globally grows unabatedly, orders from aviation and aerospace customers are rising fast. This was one of the reasons why Brenk Brothers expanded its facility by 40,000 square feet (4,000 m2) last year, after already doubling space 15 years earlier. In addition to higher production volumes, aerospace OEMs have also raised the bar for quality assurance. They not only expect more data on a part, but more detailed data on a part than they did a few years ago. And they want it faster than ever.
“The demand for information has increased exponentially,” explains CEO Jeff Brenk. “Customers want us to catalog as many data points as possible that they can keep on hand forever, and they expect us to do that in a very short amount of time. It’s happening on a mass scale. It’s a major challenge to keep up.” At the same time, many aerospace OEMs have outsourced the inspection process to suppliers like Brenk Brothers. “Customers have shifted the burden of proof to us, and they want us to be able to show them that we can inspect well,” explains Mike Brenk. “This has led to a constant betterment of our own processes to ensure we don’t even make a bad part in the first place.”
Accuracy and speedBrenk Brothers already has 10 ZEISS CONTURA CMMs, with two more on their way. Jeff: “Of the 2,000 features that might need to be checked on a part, several hundred can have tolerances of ±.0005 of an inch. That’s the complexity that we have to deal with every day.” The CONTURAs have the precision and speed to measure such tight tolerances, and the reliability to run all night when needed.
Close tolerances
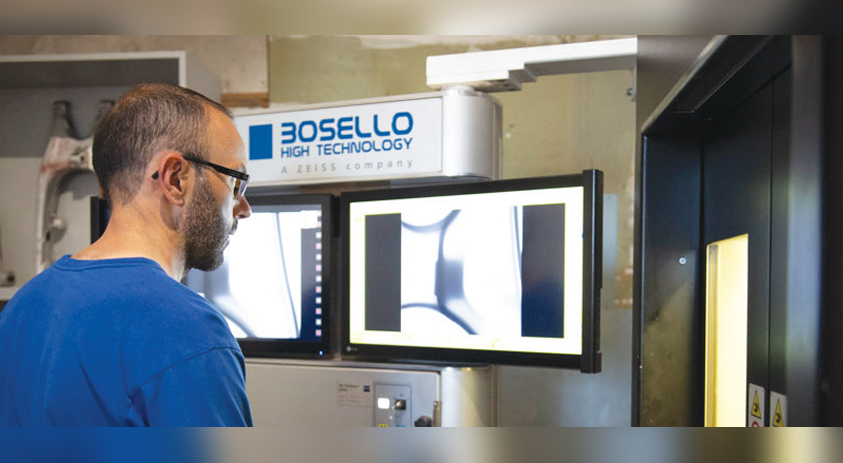
Three years ago, the company added a ZEISS O-INSPECT 8/6/3 multisensor CMM to gain more flexibility during inspection. The O-INSPECT unites optical and contact measuring technology in a single system, which combines the best of both worlds on certain parts. “The O-INSPECT gives us more options to inspect a part optically,” says Mike. “Some customers want to record x amount of data per run, and a vision system like the O-INSPECT system is very good at accumulating and aggregating data quickly.” The two men also value the ability of the O-INSPECT to deliver accuracy for areas with very tight tolerances. “We have parts coming in with many different compound angles,” adds Mike. “Some parts have deep cavities of 9 or 10 inches (22.86-25.4 cm), with internal features as well. These parts are difficult enough to machine, and we need to be able to reach those areas with our CMMs.” For some complex aero parts, the O-INSPECT has reduced the inspection time from 45 minutes to 10 minutes.
Tight feedback loop
Meeting the twin demands of short response times and high-accuracy data is the key to remaining competitive for the aero industry. “The only way to keep up with the speed expected by our aerospace customers is to make the feedback loop as tight as possible to the process,” states Mike. “So when a product comes off the machine, we can make minute adjustments right away and inspect parts as close to real time as possible. And that is the critical nature of our ZEISS partnership: we trust the brand and the information that the CMMs are giving us.”
Confidence
The customers of Brenk Brothers trust ZEISS too. Mike: “Someone from Boeing was just here today and when he walked into the quality control lab and saw all the ZEISS CMMs, he said, ‘Wow, I’ve never seen a room like this.’ When customers come in for quality audits and see the ZEISS badge at the top of our printouts, they stop, check the box, and move on. They have confidence. This really helps in our efforts to become a top-tier supplier.”
A key benefit of the ZEISS CONTURA is the seamless interface between the ZEISS CALYPSO software and CAD files. This makes it much easier to electronically manage each part. Another advantage is that the CALYPSO software can be used on any CMM that happens to be free.
Cookie Consent
We use cookies to personalize your experience. By continuing to visit this website you agree to our Terms & Conditions, Privacy Policy and Cookie Policy.


