DuraMax measuring machines from Carl Zeiss Industrial Metrology ensure maximum quality, more power
By OEM Update Editorial October 12, 2021 3:24 pm IST
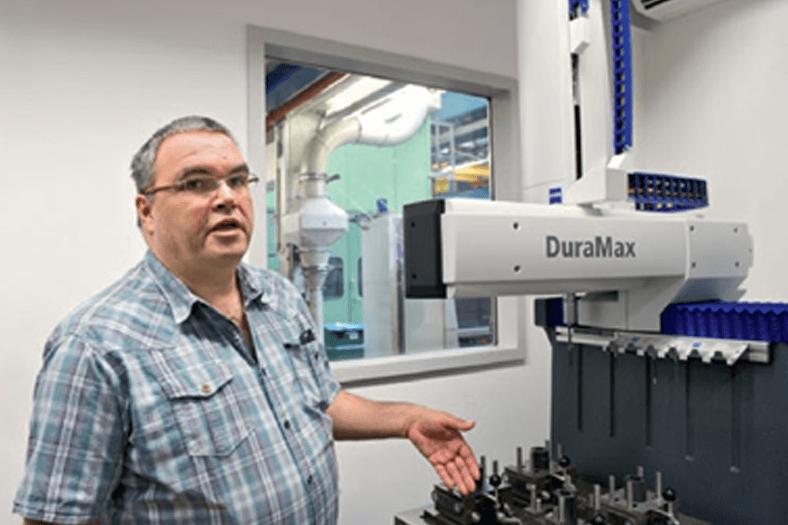
Robert Bosch GmbH factory in Stuttgart relies on the DuraMax coordinate measuring machine from Carl Zeiss to guarantee optimal Quality assurance in production.
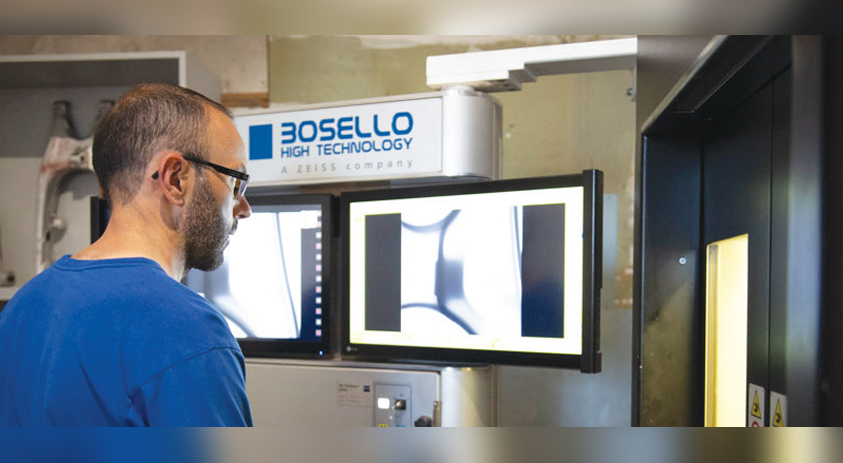
A claw pole is a fist-sized piece of metal with six or eight hooked teeth pointing upwards and a hole in the middle. It is a key component of alternators, i.e. generators, which supply practically every motorised vehicle with power. For these alternators to generate even more energy in the future, Robert Bosch GmbH is working at a fever pitch on the further development of its claw poles. The latest type of claw pole, which will hit the market in the fall, will generate up to 30 percent more power. Two DuraMax measuring machines from Carl Zeiss Industrial Metrology (IMT) ensure that maximum quality is achieved. “Without these coordinate measuring machines, we would not even have been able to measure the new claw pole,” emphasises Uwe Kasten from metrology methodology development at Bosch.
Global experts for claw poles
Bosch produces annually a total of 16.5 million claw poles which are integrated into alternators. Two interconnected claw poles create the rack for the runner. Powered by the vehicle engine, this assembly rotates in the column and generates electricity -due to the magnetic charge and the static copper wire wrap. This charges the vehicle’s battery which provides the power required when standing, e.g. for lights, the radio or starting the engine. The electricity also supplies all electronic systems that are active while driving.
The manufacture of claw poles has been the responsibility of the Stuttgart factory for more than four decades. The other areas of alternator production gradually wandered abroad – England, Spain, Brazil, South Africa and India. “The claw poles are the only thing left here in Stuttgart,” says Uwe Kasten. “We simply could not transfer the sophisticated punching technology with the associated tool-making to other sites. There is just Too much know-how involved that we have built up over the years.”
High demands on measuring equipment and operators
The manufacture of claw poles is an elaborate process. The sheet metal from which the basic form is punched is extremely thick and tough. The star-shaped pieces of metal are cut out like cookies as closely together as possible to minimise waste. The basic form is then perforated and the teeth bent upwards. Finally, the claw poles land in the furnace for a few hours. It is only then that they reach their full potential.
Their form is just as complex as the manufacture of the elaborate parts. There is hardly a straight surface, barely a symmetrical tooth, rarely a perpendicular edge. For this reason, quality assurance has never been an easy job at Bosch. Until now, the factory relied on traditional gauges for the shop floor serial inspection: slide gauges, dial gauges, micrometer screws, goniometers, height gauges – employees used up to 10 different gauges to check the dimensions of random samples during ongoing production. It not only took a long time, but was also susceptible to errors – the measuring results were heavily influenced by the respective operator. Employees were reliant on a measuring lab for more detailed total measurements. This often involved a lot of time. The demand for the new measuring machine quickly grew: “We wanted to access all measuring information directly in production,” emphasises Kasten.All wishes granted
Although coordinate measuring machines from Carl Zeiss IMT have been reliably ensuring quality in many areas of Bosch, the factory did not simply go out and buy a DuraMax. “We always evaluate the entire market,” explains Kasten, “it is part of our corporate philosophy.” This led us to inquire with several manufacturers and test their products before finally choosing Carl Zeiss: “When DuraMax was introduced at the 2008 Control Show, we knew that it was exactly what we had been looking for.” A robust machine for shop floor use, sufficiently accurate for the required tolerances and economical – DuraMax does it all. The software was another benefit. “We didn’t want to force too many different systems on our employees,” says Kasten. “We have been very satisfied with CALYPSO. This measuring software is very flexible.”
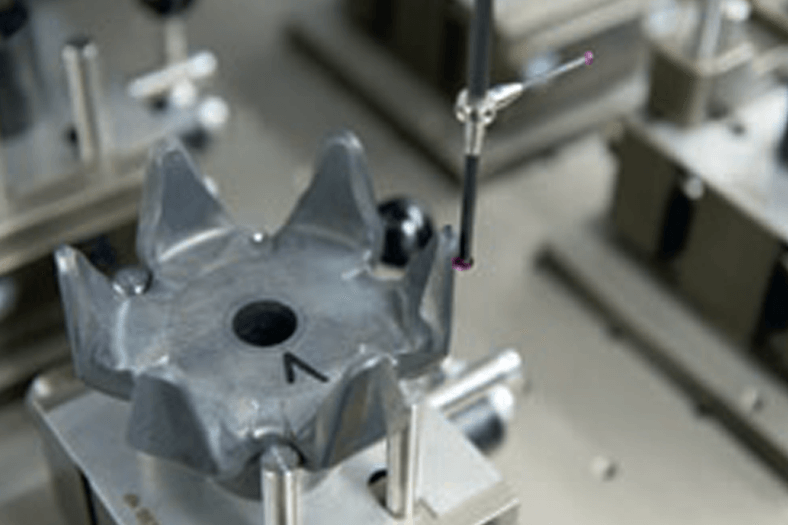
37 claw poles and one measuring machine
Following numerous test measurements, Bosch invested in two DuraMax machines in November 2008: one for claw pole production and one for tool-making for the initial inspection of the punching and forming tools. “Basically, the system is so easy to use that any employee can do the measurements following a short introduction – just like the gauges in the past,” explains Kasten. “Nonetheless, we wanted to give them enough time to get acquainted with everything.” Employees, after all, are still the key according to Kasten. They have to work with the new equipment every day, have to let go of their old habits and learn something new. “Therefore, we still use the gauges at the same time.
However, we want to completely replace them in the near future.” The potential of shop floor coordinate measuring technology is already obvious: the measuring results are available in just six minutes – instead of half a day. With a minimal modification of the carrier, employees can reliably inspect each of the 37 different types of claw pole – even the latest. The setup was somewhat more involved with traditional gauges. Furthermore, the influence of the operator has been virtually eliminated. And the employees are not even needed for the measuring process. Uwe Kasten is more than satisfied with the decision: “DuraMax does exactly what we want. It may not be as capable as the high-end PRISMO, but that would be overkill here.” Uwe Kasten would gladly expand the partnership with Carl Zeiss in the future, with a “CALYPSO User Day” for example that would cover all Robert Bosch GmbH sites: “We have a lot of measuring machines in operation with this software around the globe. And our products demand a lot of measuring programmers and software. Such an event would enable the employees to discuss the software and learn from each other as well as from the experts at Carl Zeiss.”
For more details contact: info.metrology.in@zeiss.com
Cookie Consent
We use cookies to personalize your experience. By continuing to visit this website you agree to our Terms & Conditions, Privacy Policy and Cookie Policy.


